

Manual borders
 Manual Border (
B) draws a temporary boundary on the drawing. It is the
fix for the single most common takeoff problem: a fill that escapes because the
area is not properly closed.
Borders are guides, not takeoff. They are never measured and never appear in your quantities.
The problem borders solve
Section titled “The problem borders solve”You click inside a paved area and the fill floods everything around it:
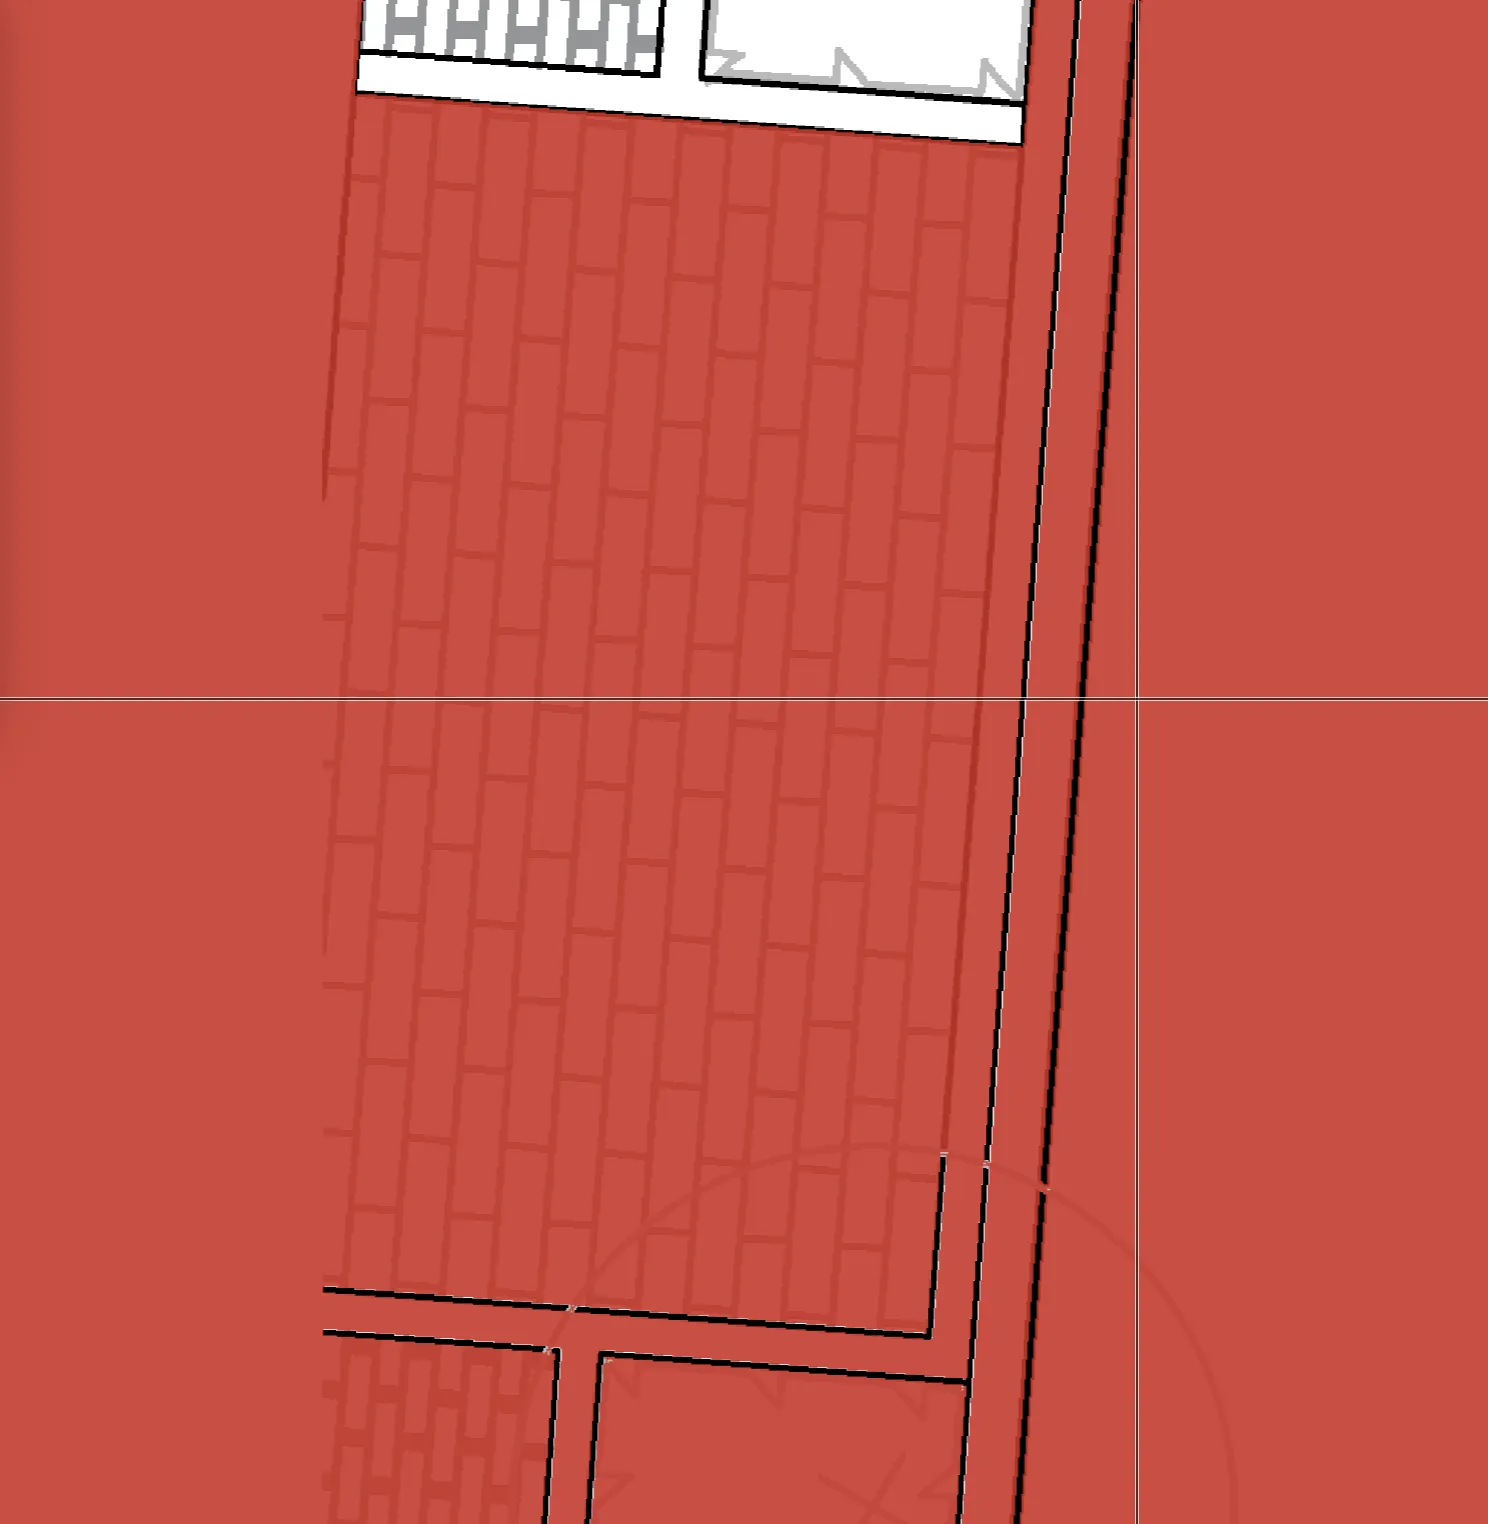
This nearly always means the boundary has a gap. A line stops short of meeting another, a doorway is left open, a hatch is interrupted, a boundary is drawn in a dashed style with real gaps between the dashes, or as here one side of the area was simply never drawn as a line. The fill runs through the opening and keeps going.
Lowering Color Tolerance will not help, because the problem is a genuine opening rather than a colour difference. You need to close it.
Drawing a border
Section titled “Drawing a border”- Select Manual Border (
B). - Draw across the gap so the opening is bridged.
- Save the border.
- Switch back to your region tool and fill again.
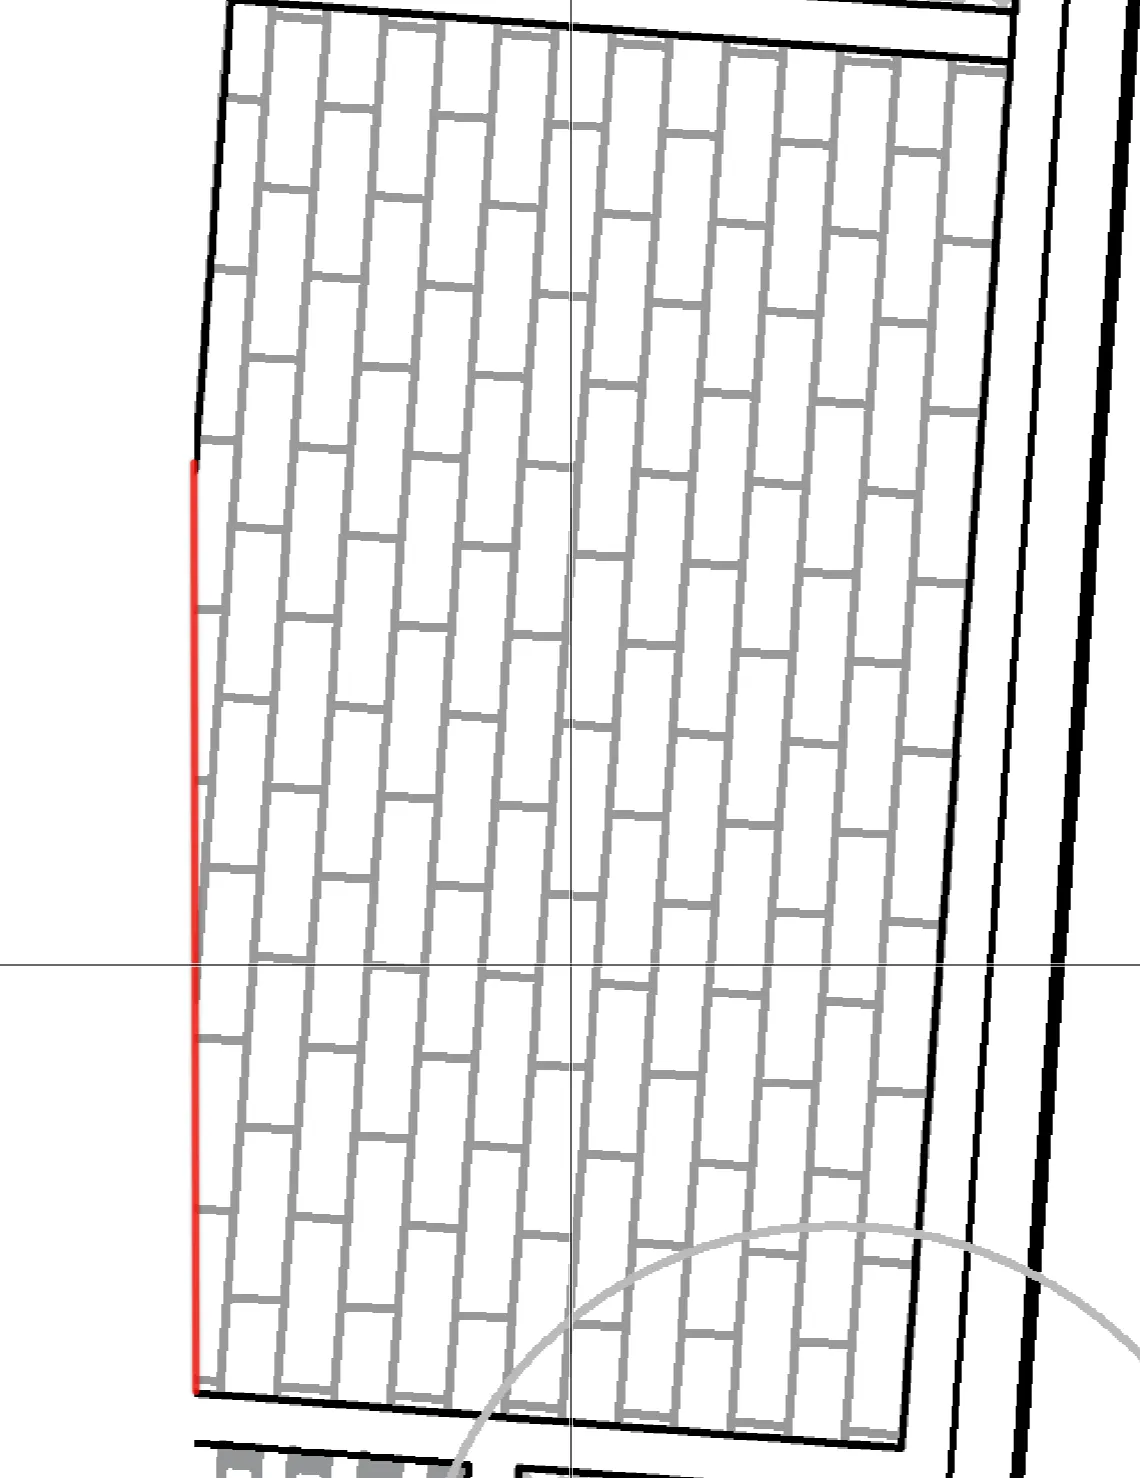
Here the left side of the paving has no line of its own, so a border is drawn down it to close the area:
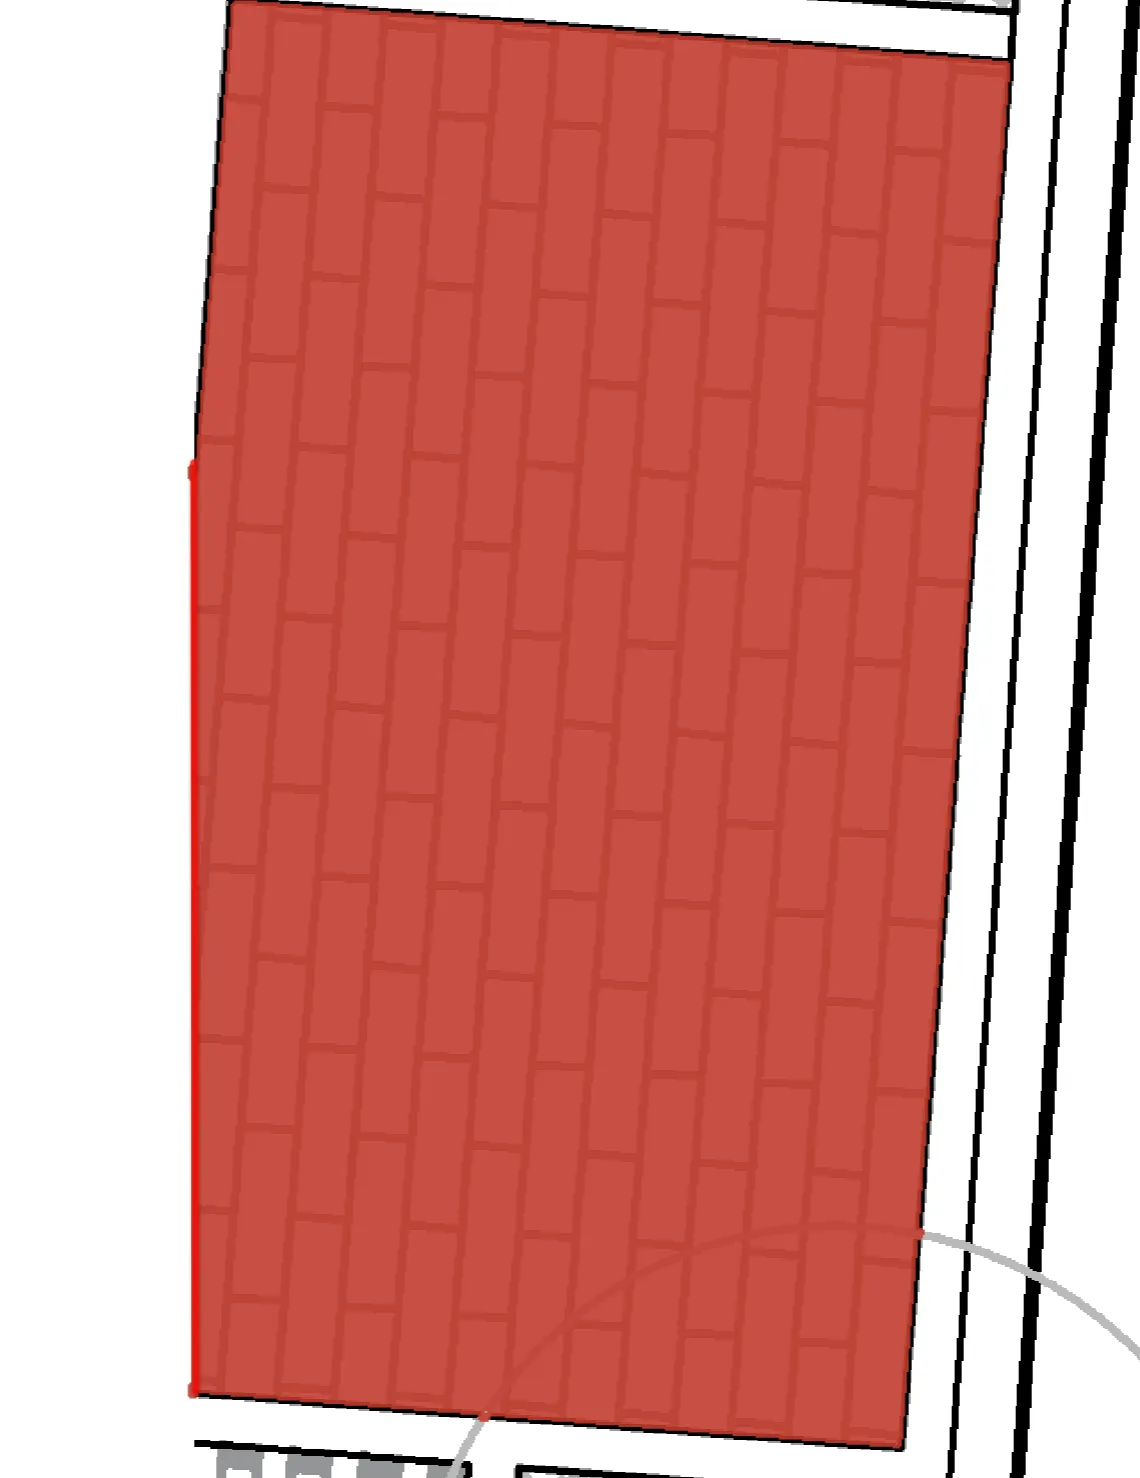
Fill again, and the area comes out as the paving alone:
Make the border slightly longer than the gap so it overlaps the lines on both sides. A border that stops exactly at the gap edges can leave a hairline opening the fill will still find.
Managing borders
Section titled “Managing borders”- Save keeps the border for continued use on that drawing.
- Cancel discards the one you are drawing without saving.
- Borders can be selected individually, so you can remove one that is no longer needed without disturbing the others.
- Clear all borders removes them in one action once a drawing is finished.
Borders persist while you work, so you can close several gaps up front and then fill everything without switching tools repeatedly.
Where borders help most
Section titled “Where borders help most”Doorways on floor plans. A room fill will otherwise run through every door and swallow the floor. Border across each opening, or use Door-aware Fill from the canvas controls, which handles this case directly.
Broken or dashed boundaries. Common on planting plans and setting out drawings, where a bed edge is drawn as a dashed line with real gaps.
Open ended areas. Where a paved area runs off the edge of the detail without a line closing it, a border gives the fill somewhere to stop.
Splitting one drawn area into two takeoff areas. Where a single drawn area contains two materials divided only by a note, a border lets you fill each half separately.
Borders and your quantities
Section titled “Borders and your quantities”Borders never contribute to a measurement. They constrain where a fill can go, which changes the area you measure, but the border itself has no length, no area, and no presence in the summary or exports.
Deleting a border does not change quantities already measured. Areas you filled while it existed keep the shape they were filled with.
Common questions
Section titled “Common questions”Do borders show on my exported sheet? No. They are a working aid.
Will a border change an area I already measured? No. Borders affect fills you make after drawing them.
My fill still escapes after adding a border. There is another gap. Follow the edge of the runaway fill and you will usually find where it got out. Zooming in along the boundary is the quickest way to spot a second opening.
Should I use a border or Door-aware Fill for doorways? Try Door-aware Fill first, since it needs no drawing. Use borders where that does not suit the drawing.